
Ever watched a kid’s eyes light up the moment a gadget they built with their own hands actually works? That’s the magic of a DIY Bluetooth Speaker Kit.
If you’re a parent, teacher, or hobbyist in New Zealand looking for a project that’s fun, educational, and genuinely rewarding, you’ve probably felt the same frustration many of us have: most “STEM kits” on the market are either too basic to hold attention or too complicated to finish without a meltdown (from the kid or the adult).
A well-designed Bluetooth Speaker Kit solves this problem. It sits right in that sweet spot — challenging enough to teach real skills, simple enough to complete in an afternoon, and the payoff is something you can actually use afterwards. That combination is exactly why these kits have become a go-to choice for classrooms, homeschoolers, and weekend tinkerers across NZ.
In this guide, we’ll break down why a DIY Speaker Kit deserves a spot in your STEM toolkit, what skills it actually teaches, and how to get the most out of the experience.
What Is a DIY Bluetooth Speaker Kit?
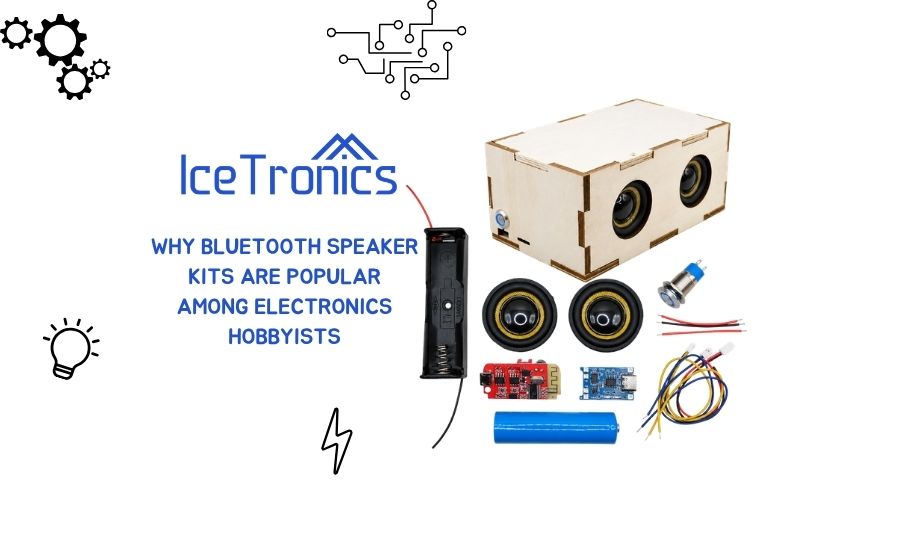
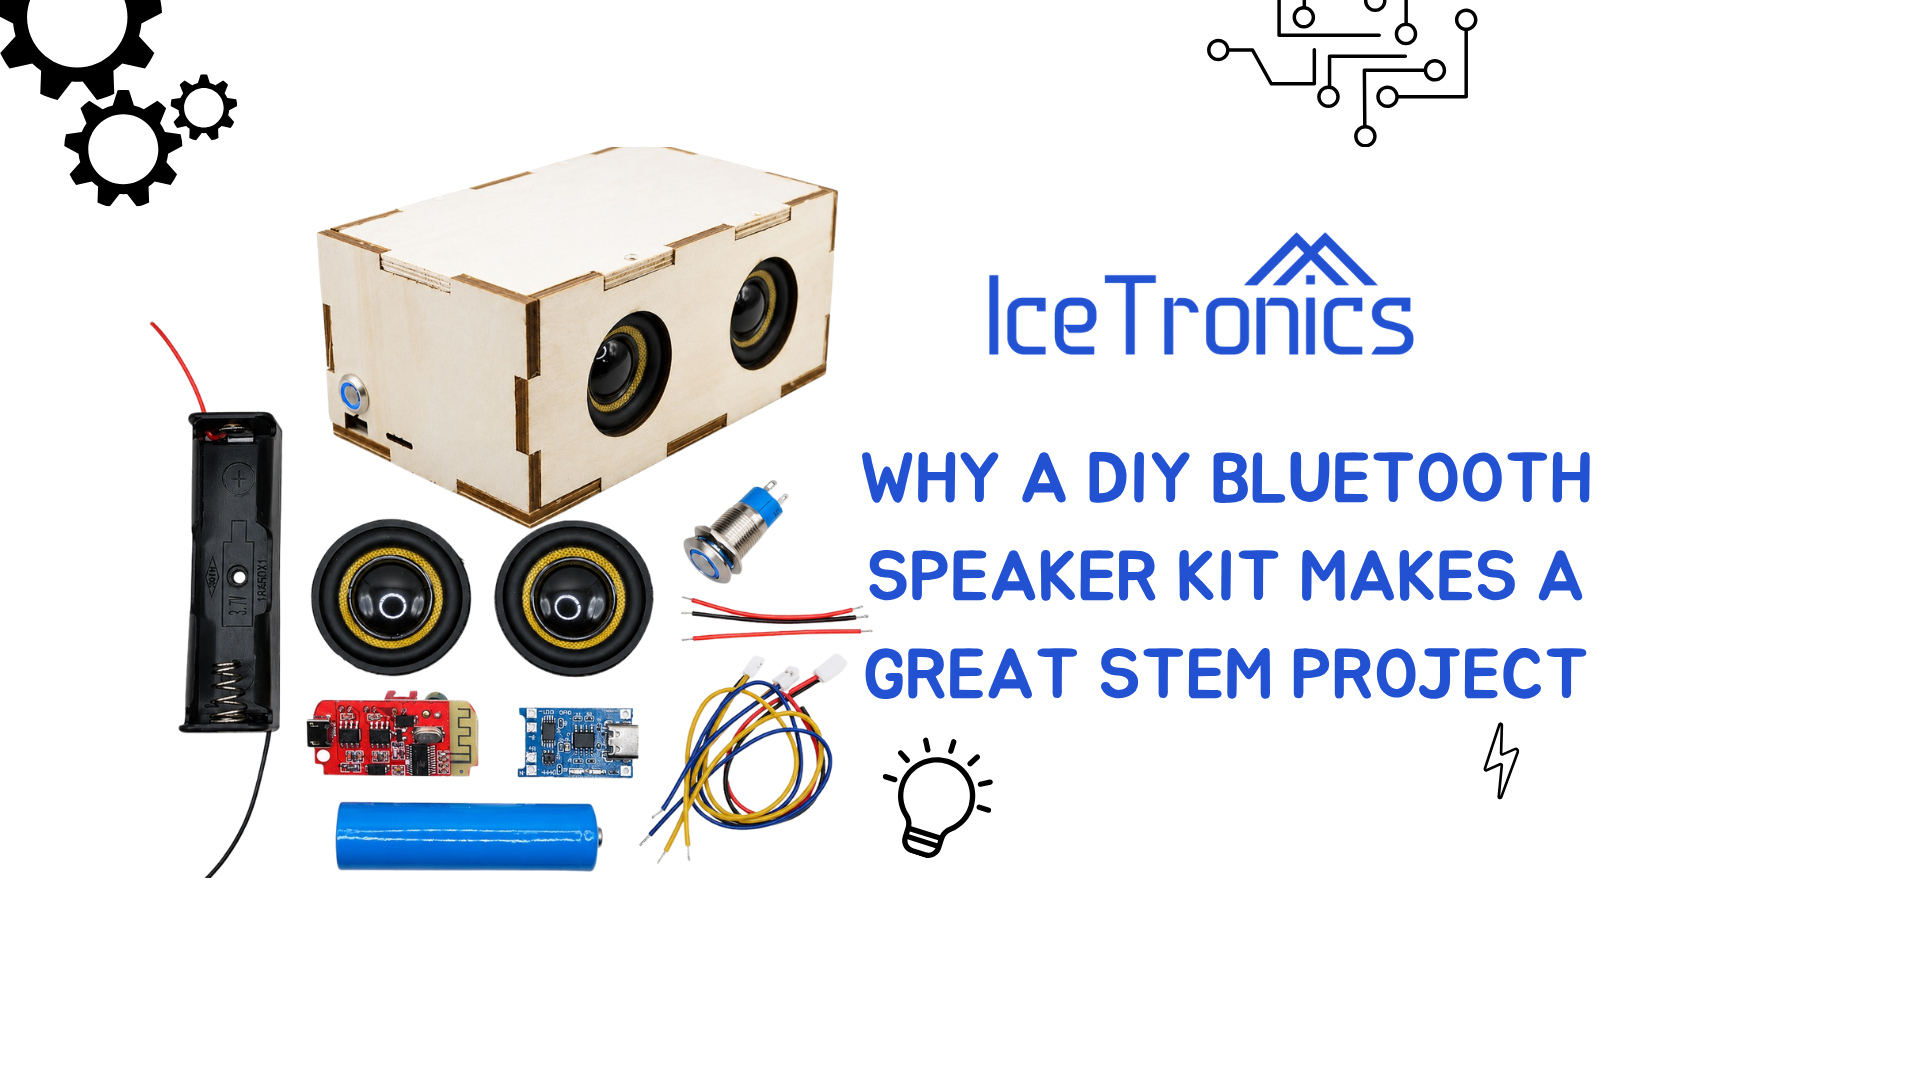
A DIY Bluetooth Speaker Kit is a build-it-yourself electronics package that typically includes:
- A Bluetooth receiver module
- A small amplifier circuit
- A speaker driver
- A battery and charging circuit
- Wiring, soldering points, and an enclosure (wood, acrylic, or 3D-printed)
Instead of buying a finished speaker off the shelf, you assemble one from individual components — learning exactly how sound, electricity, and wireless signals work together along the way.
Why It’s Different From a Regular Toy Kit
Unlike static model kits (think plastic aeroplanes that just sit on a shelf), a speaker kit produces a working electronic device. That instant feedback loop — build it, plug it in, hear music — is what makes the learning stick.
Why It’s an Excellent STEM Project
1. It Covers All Four Pillars of STEM
- Science: Understanding sound waves, frequency, and acoustics
- Technology: Learning how Bluetooth pairing and signal transmission work
- Engineering: Designing circuits, wiring components, and enclosure assembly
- Maths: Calculating resistance, voltage, and battery life
Few single projects touch on all four areas as naturally as a Bluetooth Speaker Kit does.
2. It Builds Real, Transferable Skills
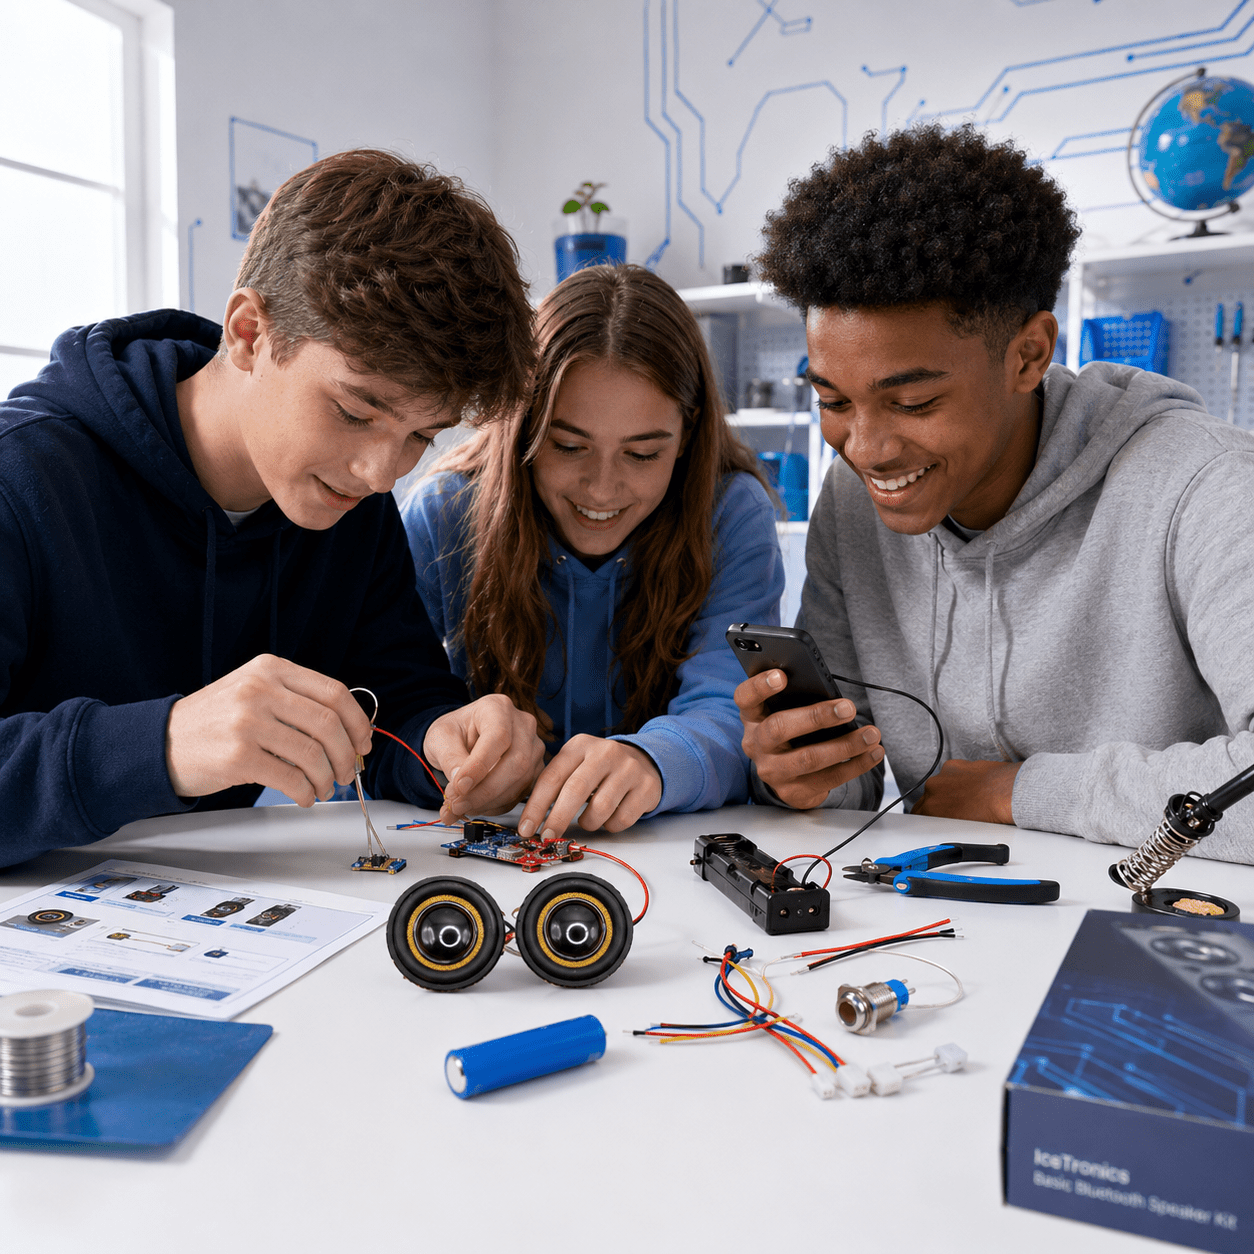
Kids and adults alike walk away having practised:
- Reading a circuit diagram
- Basic soldering (or component fitting, for no-solder kits)
- Troubleshooting when something doesn’t work first try
- Following a multi-step technical process to completion
These aren’t throwaway skills — they’re foundational for anyone heading toward engineering, robotics, or product design later on.
3. It Teaches Patience and Problem-Solving
Here’s something worth knowing from experience: the first attempt rarely works perfectly. A loose wire, a flat battery, or a mismatched connector is common.
That’s actually the point. Diagnosing and fixing the issue teaches resilience and logical troubleshooting far better than a project that “just works” straight away.
4. The Result Is Genuinely Useful
Unlike many school science projects that get binned after grading, a finished DIY Speaker Kit gets used — at home, in the garage, on a bike, at the beach. That real-world payoff keeps motivation high from start to finish.
How to Get the Most Out of a Bluetooth Speaker Kit Project
Pro Tips
- Label components before starting so you’re not hunting for parts mid-build.
- Test the circuit before sealing the enclosure — it’s much easier to fix a wiring issue before everything is glued shut.
- Use a multimeter to check battery voltage if the speaker doesn’t power on.
- Start with a no-solder kit for younger builders (under 10), and move to soldering kits for ages 11+.
Common Mistakes to Avoid
- Rushing the wiring stage — mismatched polarity is the #1 cause of a speaker that won’t turn on.
- Skipping the instructions’ order — steps are usually sequenced for a reason.
- Forcing components into place — connectors are designed to fit one way; forcing them can damage pins.
- Not charging the battery fully before first use — a common reason for a “dead on arrival” build.
Expert Advice
Educators who’ve run classroom electronics workshops often recommend pairing the build with a short explanation session afterwards — asking builders to explain how their speaker works in their own words. This reinforces the concepts far more than the build alone.
Best Practices
- Work in a well-lit space with a stable surface.
- Keep small components in a tray so nothing gets lost.
- Take photos at each stage — great for both troubleshooting and school project documentation.
- Encourage builders to personalise the enclosure once the electronics are confirmed working.
Who Is This Project Best Suited For?
- Parents looking for a screen-free weekend activity with a tangible outcome
- Teachers wanting a hands-on STEM lesson that covers physics, tech, and design in one go
- Homeschool families needing a project-based learning module
- Adult hobbyists getting into electronics as a new skill or hobby
Conclusion
A DIY Bluetooth Speaker Kit isn’t just another gadget in a box — it’s a genuinely effective way to learn science, technology, engineering, and maths through hands-on building. It teaches patience, problem-solving, and technical skills, and it ends with something you’ll actually want to use every day.
Whether you’re a teacher planning your next classroom activity, a parent after a meaningful weekend project, or simply someone keen to learn how electronics work, a DIY Speaker Kit is one of the most rewarding STEM projects you can pick up.
Ready to get building? Grab a Bluetooth Speaker Kit today and turn a few hours of hands-on learning into a speaker you’ll be proud to show off.